Share

March 19, 2018

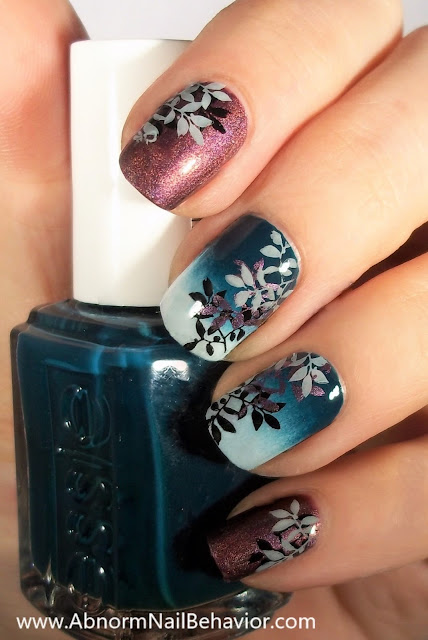
Teal Fantasy French Tips

Whimsical. Playful. Beautiful.nail stamping black gold teal
This is one of my favorite manicures to date.  I wore this one as long as I could.  I'm defiantly going to be trying this look in other colors.
nail stamping black gold teal nail polish
Supply List
Stamping Plate (Bundle Monster BM-607)
Black Stamping Polish (Konad Black Pearl)
Two Cream Polishes (Re-Teal Therapy/Jade Jump)
Clean up Brush
Top Coat (Seche Vite)

Green french tip simple nail art
Step one: Start with your base of color. I really love this dark teal color, but take a look at the picture at the bottom of this post, before you run out and buy it. Use your favorite dark teal on your accent nails. Do a classic french tip in a lighter teal. (If you need a little help see: Perfect French tips: Sticker/ Band Aid Hack)
green ombre nail art
Step Two: Once your nails are dry, paint the cream polishes on a makeup sponge, and dab it on your accent nails. Repeat this step until you have the ombre you want. Let it dry each time. I did it twice for this manicure.
simple ombre nail art sponge gradient
Now its time to stamp on our design.

Black and gold stamping polish
I layered two colors but it is also quit pretty with just the gold.
gold accent nail
Step Three: Stamp on your design with the metallic polish. Orly Luxe is not specifically made for stamping but it works like a charm. I find many metallic polishes can be used for stamping.
Nailspiration gold and black accent nail
Step Four: Stamp over the gold in a black polish. Try not to place in exactly over the first stamp so that the gold peeks out like a shadow.

Top coat (Seche Vite is my favorite) and done.

It's not my style to say bad things about products. 
"If you can't say something nice, don't say nuthin' at all" -Bambi's Thumper. 

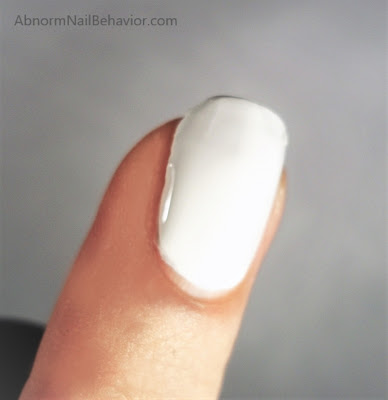
A picture is worth a thousand words. Here's a picture of my nails after I removed Salley Hansen's Re-Teal Therapy. 
Nail polish stained nails
Tip: If your nails are stained by a polish you can lightly buff it out with a file. Try not to do this too often or you will end up with thin weak nails. I recommend a base coat and not using polishes that stain your nails.


March 18, 2018

How To Repair A Splitting Nail: Super Glue Hack

When my nails are long, they sometimes get these little horizontal splits. I find myself snagging them on everything: when I wash my hair, get dressed, remove nail polish with a cotton round. You get the picture. 

fix a cracked nail hack

Eventually, the nail breaks and I'm left with one short nail. So I  have to file down all the rest. I use the following tip often . It really saves the length of your nails, and it's so easy. 


fix a cracked nail hack

Supply List
Supper Glue or Nail Glue

hack to stop a nail from breaking

Step one: Apply a tiny amount of glue over the top of the split and all along the side of your nail. Be careful not to get it on your skin. Gently lift up on the split, then push it back down to allow some of the glue to get in the crack. Work quickly and carefully. You only have about 10 seconds before the glue sets. After a few repairs, you'll get really good at fixing splits.

Step two: Allow the glue to dry for a few minutes.

Step Three: Use your nail file to gently smooth the surface of the glue and take off any ridges. File along the side edge of your nail to make sure you don't have anything that can snag.

Step Four: Paint your nails as usual and continue to enjoy your length.

Once you have one of these splits, you"ll need to keep an eye on it. The glue eventually gives a little and starts splitting again. Whenever you notice it showing up, or you snag it again, repeat the process. The glue usually holds it in place for a few days. I do this a couple times until the nail grows out. It doesn't take much time, and its worth not having to file off all of your nails, or have one really short one.

hack to stop a nail from breaking

March 13, 2018

French Tips: Sticker/Band Aid Hack


It's such a struggle to do a perfect french tip manicure at home. I can freehand my left hand just fine, but my right nails are always an uneven mess. This is my favorite hack for getting that perfect clean line. The best part about this method is, you can buy these Self-Adhesive Paper Reinforcements just about everywhere, for practically nothing. Any rounded sticker will work for this. I sometimes use the edge of a small band-aid. In a pinch, I've used the stickers that come on fruit. :)

Things you can use as french tip guides

Supply list
Your Favorite Polish (Pictured: Sally Hansen Jade Jump)
Self-Adhesive Paper Reinforcements, Band Aids, or any Round Sticker
Nail Clean Up Brush or old Angled Makeup Brush
Acetone or Nail Polish Remover
Top Coat (I use Seche Vite)

Step One: Apply stickers to a clean nails. Make sure the adhesive is pressed down onto your nails. I rub the top with my thumb. Check the edge for wrinkles or lifting. I place all the stickers before I move on to step two. You don't want to smudge your polish fumbling with the stickers.
March 7, 2018

Blending Stamp Colors : Hibiscus Nail Art

I finally convinced my best friend to let me put my craziness on her nails! I am so used to painting my own nails, it was actually very hard to paint someone else's - LOL! She escaped my clutches before I could get a picture of her Mani. You know how it is with girls, if she has something pretty, I want it also. So, I did a dup of my work to share with all of you. 

flower nail art tutorial nail stamping
Hibiscus nail art tutorial
 I used a technique I have come to love, where you blend polish colors directly on the stamping plate. So simple to do! 

March 5, 2018

Reverse Stamping: How to Make a Nail Decal


 So what the heck is reverse stamping? Glad you asked, because it is my new favorite thing!  It begs the question: "How did you do that?". Let me show you! 

Reverse stamping is layering polish to color in stamps, and then turning them into colorful decals. It is a little more on the advanced side, but practice always make perfect. I promise, it's not as hard as it looks.

Born Pretty nail stamping plate BP-X38

I picked this daisy and lady bug plate because I wanted to demonstrate a multicolored design, and it has a ton of great detail. 


reverse nail stamping decal comparison

Above is the difference between just plain stamping and reverse stamping. The nails on the left are the same design as the nails on the right, but the difference is amazing.

February 28, 2018

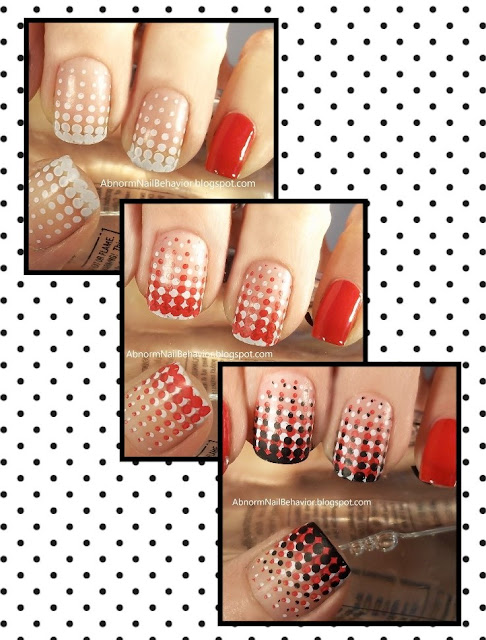
Gradient Dot Mani

Red white and black nail art dot manicure

There are a lot of ways to do a "Dot-icure" but this is one of my favorites.

nail stamping plates dots

 I used Cheeky stamping plate CH10 and layered the design for this effect. This design is a triple stamp which is easy as long as you mind how you place the design. Try not to place your stamp directly over the last layer so that all of your colors are able to peek through. I used b.m.c black and white stamping polish, find it here. I skipped the top coat in this one because I liked the matte texture but I'm sure it would be lovely with a smooth shine as well.

red white and black nail art easy tutorial stamping

Always love to hear what you think and feel free to share any useful tips or tricks you've discovered.

February 26, 2018

St. Patrick's Day Marble

I have been on a bit of a St. Patrick's day nail art kick so here is more. I've also been playing with my Pueen Marble Paradise stamping plate a lot lately so I decided to combine the two. I like that the green is not the dominant color in this design for those that aren't too keen on full blown green nails.
china-glaze-passion-westside-warrior

Both nails are the same stamp just not applied in the same direction. I've said it before but you really want to turn your stamp with designs like this to make it more visually interesting. 

Metallic Blue Marble Nails

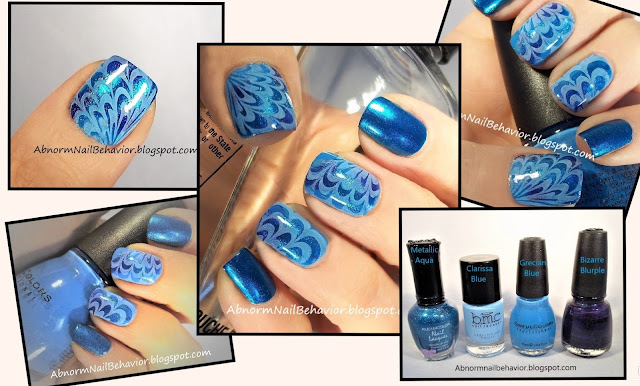
Something Blue.  This design is just a sponge gradient using a mixture of cream and Metallic polish under a basic marble stamp. I didn't have time to do a step by step today but if anyone wants me to give more detail leave me a comment and I'll do a tutorial. 

Pueen-marble-paradise-plate

Tip: turn your design so that the pattern is not facing the same direction on each nail.

Pueen-marble-paradise-plate

 I used Pueen  Marble Paradise 01 for the design but there are a ton of great marble stamps out there. 


These polishes work well together for subtle contrast and variation in visual texture... I just made that term up but I think it works.

Pueen-marble-paradise-plate

Nothing fancy just pretty blue nail polish.

Klean-color-metallic-aqua-nail-polish


February 23, 2018

Cat Call Leopard Print

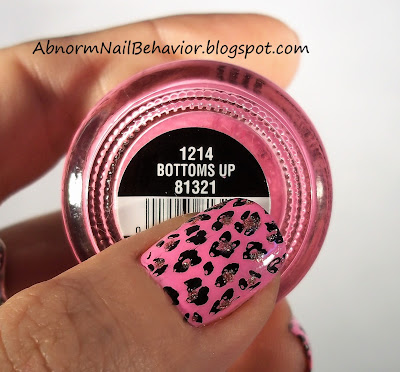
Sexy leopard print nail art that will keep heads turning all day. Hot pink and glitter add even more pop to this classically sexy animal print. Awesome! This is an easy manicure with a ton of appeal. This is also a great design to try if you are just learning to stamp because the little imperfections actually make this look more like animal print that a geometric pattern. I always fill in the middle of my spots with an accent color or in this case a little glitter for some pizzazz.
China-glaze-bottoms-up-leopard-print-nail-art

abnormnailbehavior.blogspot.com

China Glaze Bottoms Up  is one of my go to pink polishes.  I haven't talked much about the glitter polish United but it really is something. It is a full coverage glitter that works as a base and is especially fantastic for adding accents of sparkle to your designs. I used stamping plate Mash-40 but there are a ton of brands out there that make a nice leopard print.

Sexy!  

China-glaze-bottoms-up


Simple St Patrick's Day Nails


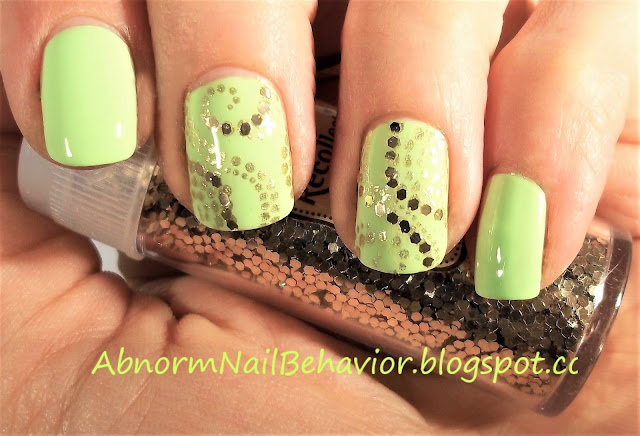
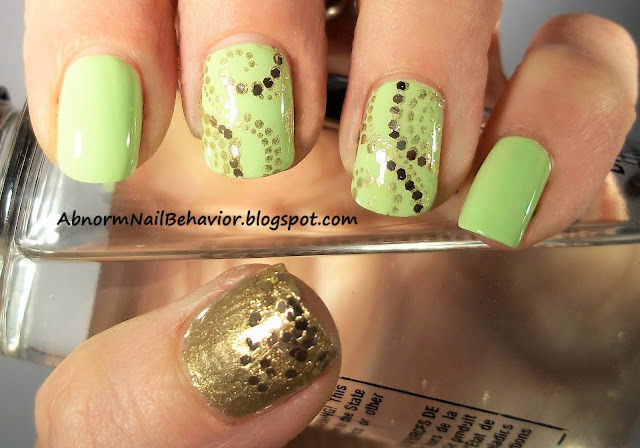
Incorporate a bright green into your nail art and avoid those pesky pinches. Green and gold glitter give a subtle nod to St. Patrick's day in this easy nail art. Simply add some dots of gold with a stamp or dotting tool. I love that this design playfully hints at a pot of leprechaun's gold.

china-glaze-grass-is-lime-greener

easy-elegant-nail-art


I really love how creamy and smooth this polish is. This is two coats of China Glaze Grass is Lime Greener. Very pretty color and almost a neon in person.

lime-green-nail-polish

 The glitter is from Micheal's and it comes in a variety of super dazzling colors. To make it stick you need to paint some top coat on the nail and use a dotting tool to pick up and place the individual sparkles. Thats all there is to it. Sparkle!

china-glaze-grass-is-lime-greener-gold-glitter

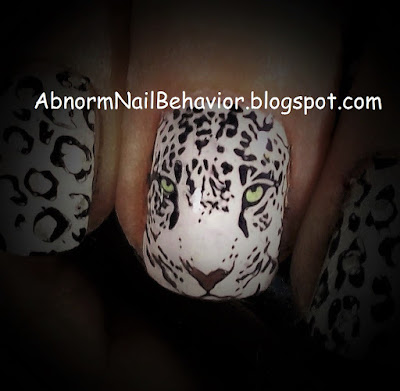
Green Eyed Leopard Nails

I always love an animal print! There is just something seductive about the patterns in a leopard print that draws the eye. This design stares right back at you!

sexy-animal-print-nail-art-short-nails


green-eye-leopard

This is my second attempt at reverse stamping. I decided to buy a silicon nail mat. This design only required me to fill in the eyes and nose so it wasn't difficult to do at all. I plan on doing a tutorial once I work out the kinks and get the hang of it a little more. 

(Update: Did a tutorial in a later post... see it here... How to Make a Decal- Reverse Stamping)


 The plate BM-613, find it here, has a few different face designs to chose from. I've ordered plates like this before but they were so big that when I placed it on my nail you couldn't tell it was supposed to be a face. This plate is the perfect size.


Sally Hansen has an affordable polish line Insta-Dri, that works great for stamping, is cheaper than stamping polish, and you can find it just about any drugstore. I used Silver Sweep here.


China-glaze-green-nail-polish

Sally Hansen has an affordable polish line Insta-Dri, that works great for stamping, is cheaper than stamping polish, and you can find it just about any drugstore. I used Silver Sweep here.


I'm going to rock this awesome mani with my hot pink scrubs today. :)


February 19, 2018

Peek-A-Boo Rose Nails

rose-accent-nail

This is my first attempt at the layering technique reverse stamping and I have mixed feelings. There are several ways to do it but for my first try I wanted to see how it would come out without spending any money on a silicon  mat. I layered my design directly on my rubber stamper. I didn't get pictures of the process but I will do a tutorial if I use this trick again.

Accent-nail-art-rose


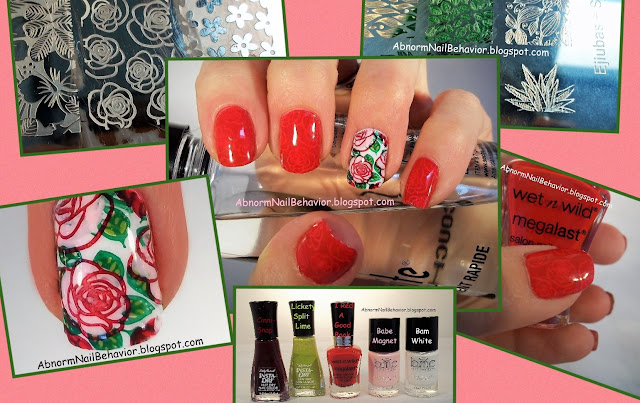
I like the complexity of the colors with this style of stamping. This accent nail is actually several layers of polish starting with the red rose outline.  I filled in the roses directly on the stamper with pink polish and a dotting tool. I added to that the leaf outline and after it was dry I filled in the leaves with a little green polish. Once all your layers are dry paint on a background color. I used white stamping polish. The tricky part is transferring the design to your nail covered in tacky top coat. Removing the extra polish took a while with an eyeliner brush and polish remover but it wasn't as messy as I thought it would be.

transparent-polish-over-stamp

As for the rest of my nails I used a transparent red polish, stamped on the rose outline in white and then added a second coat of the red. The white just peeks out from underneath. This would work with any jelly polish over a white stamp.


Above are the polishes in this design. I used Konad special polish in green for the leaf outline but it didn't make the class photo.


nail-stamping-plate

Born Pretty Plate BPL-24.

nail-stamping-plate

Ejiubas + Sarah R2 Stamping Plate.


reverse-nail-stamping-picture

So for my first attempt at reverse stamping I think it went alright. As with anything practice goes a long way and nail polish is all about experimenting and practice.

February 17, 2018

Purple and Blue Ombre Double Stamp

flyin'-high-what-a-pansy-china-glaze-ombre

Combination of the sponge gradient and double stamping techniques for a visually interesting design.This one falls into the category of much easier than it looks.

Blue-and-purple-ombre-nail-art
By stamping a pastel under the white you get a layered affect that creates depth in the design. The ombre gives it a shadow effect that looks great with cream polishes. Lets get started. 

Click "See more" if you want to know how I did this design.

February 16, 2018

Best Patriotic Red and Blue Polishes


subtle-usa-nail-art-fourth-of-july

Eureka! I have had some trouble with the perfect red and blue for my US Flag inspired nail art. I have finally found, what in my opinion are, the two best colors for some patriotic nails. After many, many, many, not quite right Mani's, I'm going to share my findings.  For all those USA, Olympic, Patriotic nail designs these are your new go to colors....  Drum-roll please......
bright-red-blue-USA-american-flag-nail-polish

 Anyone who knows me, or has happened upon my overwhelming polish collection, knows that my go to brand is China Glaze. I just love the formulas and rich colors in their line. No, I do not have any affiliation with them and have never received anything for raving about them as I do. I'm just a big fan. I am also a fan of a few drug store brands that might be somewhat surprising. Wet n Wild can be found just about anywhere and is not expensive by any means. This Red is easy to work with and the wide brush makes it very easy to paint without streaking. SinfulColors is another affordable polish with great quality and colors to chose from. This blue goes on very smooth and drys fairly quickly. China Glaze is my favorite for sure but these drug store lines are really worth giving a try.

Popular